This is my tutorial for quick coasters to make ... a great handmade gift for Christmas. All you need to make one coaster is six 5 inch squares of fabric.
Here I have four 5inch squares which are my "top" fabric and two 5inch squares which are my inside and back fabrics.
Fold each 5inch square of top fabric in half.
Lay each one down with the fold facing in towards the middle. (So you have the raw edges on the outside)
this is the third piece being laid down. See how I am laying them down on top of each other.
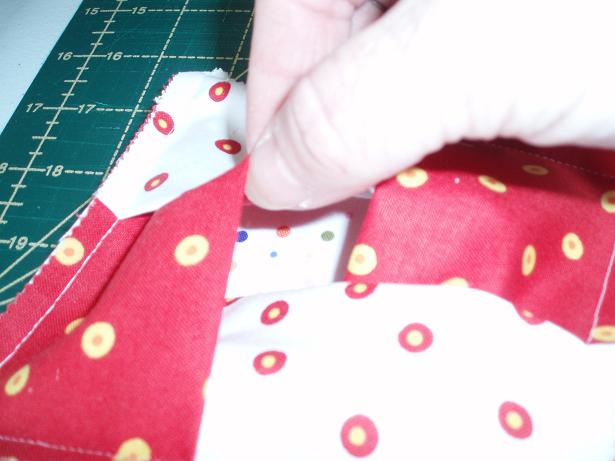
The last piece is at the top. We need to tuck half of this under the first piece we put down.
So lift up the top piece and fold back the very first piece we put down.
Lay down the last piece. Then put the first piece back down on top of this.
There you have it. The four pieces all tucked into each other so you have only four halves showing. This is where you can have fun co-ordinating fabrics.
Next step is to place the remaining two 5inch squares onto the stack. First peice to go down will be your backing fabric, place it face down onto the stack. Then, the inside piece so the right side is facing up. This piece of fabric can be something like muslin - you won't see it.
Turn the whole lot over and pin the in place.
Stitch around the outside with a 1/4 inch seam.
Trim off the corners.
Open the centre hole and turn inside out.
Voila ... a little coaster. You will need to iron it so it sits nice and flat.
If you like you can run a line of top stitching around the edge, you could even quilt it, embroider it, embellish it or anything you wanted to make it unique and special.
I hope this tutorial is easy to follow. I love these coasters because you can throw them into the washing machine and wash them when they get grubby, and they are easy to iron back into shape.
Enjoy ... Happy Quilting for now ... Jane x


No comments:
Post a Comment